Floating row covers are an important part of organic pest control, helping to prevent bugs like cabbage loopers, cucumber beetles, and flea beetles from feasting on vegetable plants. Floating row covers also protect plants from frost and installing them in your vegetable beds can allow you to grow plants earlier in spring and later into fall. Using floating row covers for season extension is an easy way to increase your harvest yields and get more food out of your vegetable and herb gardens. Here's what you need to know to successfully install and use floating row covers.
Steps for Installing Floating Row Covers
Floating row covers are simple to install and they make a big impact in spring and fall vegetable gardens. You can purchase premade kits that come with plant covers, garden hoops and clips, but you can also create DIY floating row covers that are perfectly sized for your garden beds. The steps below will walk you through everything you need to know about installing and using row covers to extend your growing season.
1. Plan ahead.
While installing floating row covers is easy in summer, you’ll have a harder time driving row cover supports into your soil if the ground is frozen solid. For this reason, you may want to install row cover hoops in early fall and then leave them in place over winter so you can use them first thing in spring.
2. Choose the right covers.
Floating row covers are usually made of polypropylene or polyester and they’re designed to be lightweight enough that light and water can penetrate them. However, some floating row covers are thicker than others and, if your goal is season extension, you’ll want the heaviest weight row covers that you can find. Heavyweight covers can raise the temperature around your plants by 6-10ºF, which is enough to extend your growing season by several weeks.
3. Prepare your garden beds.
Before installing your row covers, it’s usually a good idea to prep your garden beds. Removing weeds, adding compost or other soil additives, and spreading mulch is easier to do before you install season extension products.
4. Install supports securely.
If you use floating row covers for short periods of time, you can often just drape them over the plants you want to protect from frost. However, if you intend to keep row covers in place for a while, you should install row covers over garden hoops to give your plants a bit more breathing room.
Some row cover kits come with their own plastic hoops that can be sunk into the ground. Another option is to make your own hoops with flexible PVC tubing or upcycled hula hoops. These DIY structures are budget friendly and they’re often sturdier than grow tunnel kits. You can make your hoops even stronger by anchoring them in place with short sections of rebar and fastening a long piece of PVC tube along the top of the hoops with zip ties.
5. Add the covers.
Once your garden hoops or supports are in place, it’s time to install your row covers. Spread your covers over the hoops, leaving ample fabric on either side of the hoop. Make sure to go slow as you spread out your row covers because the thin fabric can tear easily. Once the row covers are in place, attach them to the hoop frames with garden clips or small sections of twine.
6. Anchor the edges.
A strong wind can move floating row covers and shift them off the plants you’d like to protect. However, you can keep row covers from moving around by anchoring their bottoms in place with landscape staples, rocks, bricks, or small sections of scrap lumber. Even a pile of soil along the edge can do the trick.
7. Select cold hardy crops.
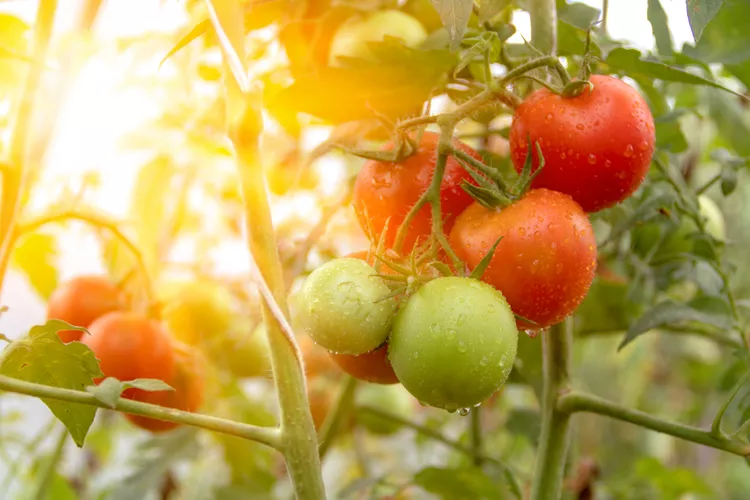
Floating row covers can help protect warm season vegetables such as cucumbers, tomatoes, and squash from an assortment of pests in summer. But if you’re using row covers to extend your growing season, they will work best with cold hardy crops that can handle cooler temperatures. Root vegetables, brassicas such as broccoli, lettuce, and other leafy greens are some of the best plants to grow under row covers because they thrive in colder spring and fall weather and they’ll benefit from the added frost protection row covers provide.
8. Start planting.
When you use season extending row covers, you can directly sow cool weather veggies early in spring as soon as the ground is workable. For a fall harvest, start sowing cool weather vegetable seeds in mid-summer to fall and reap the rewards of your harvest late into autumn.
9. Add compost and water.
Floating row covers offer a good deal of frost protection; however, your plants are more likely to tolerate cold weather and harder frosts if they’re heathy. Amending your soil with compost or aged manure can give your plants the extra nutrients they need to withstand cold. Additionally, watering plants right before a freeze can offer additional frost protection.
10. Check your covers regularly.
Floating row covers can shift around in the wind, so check the edges from time to time to make sure they’re still covering your crops. If you installed your covers in spring, you may want to peel back or remove the covers before summer to keep your vegetables from getting too warm.
In autumn gardens, floating row covers can offer a good deal of late season frost protection. However, it’s usually wise to remove the covers before winter sets in because snow can weigh down the delicate fabric and lead to tears. While sturdy garden hoops made of PVC can be left outdoors all winter long, lighter weight garden hoops will generally last longer if you store them in a shed or garage during the winter months.


